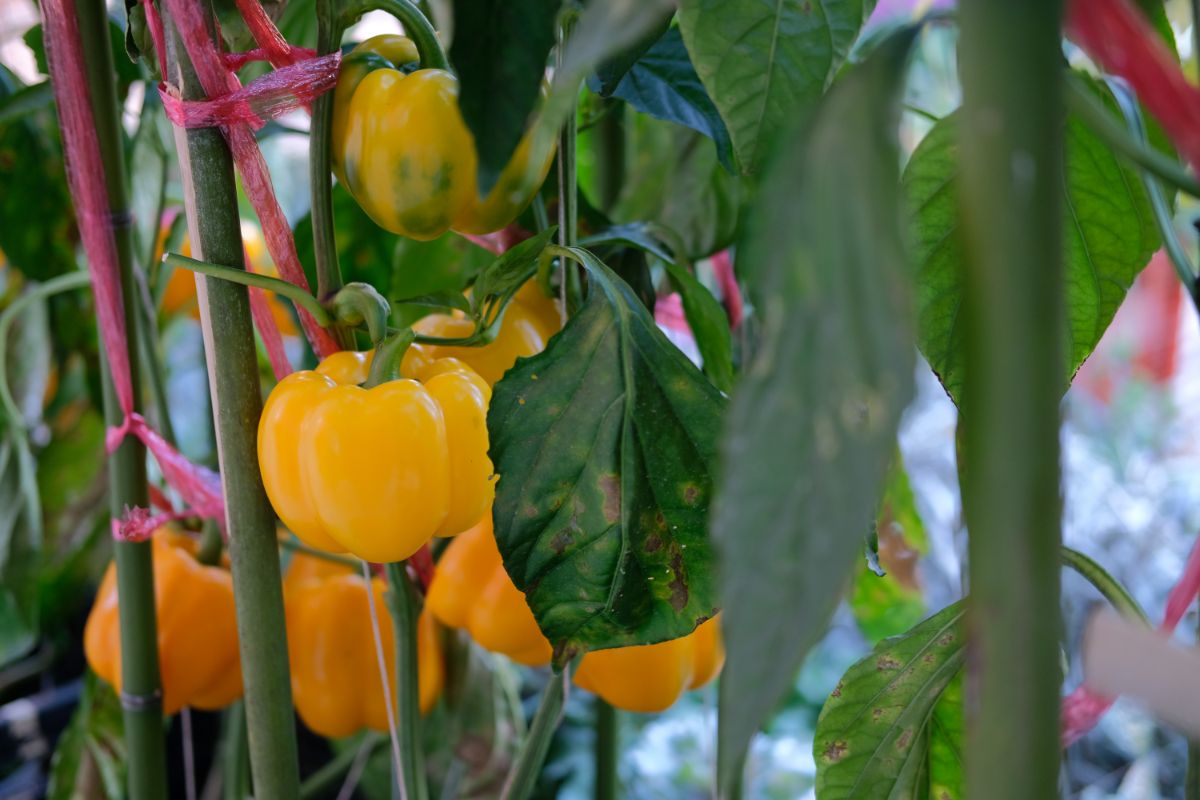
Bell peppers, also known as capsicums, are a versatile vegetable that can be used in everything from salads and stir-fries to pizza toppings.
While you can easily buy bell peppers from your local grocer, did you know that with a few simple steps, you can actually grow your own bell pepper plants using peppers bought from the supermarket? It’s true!
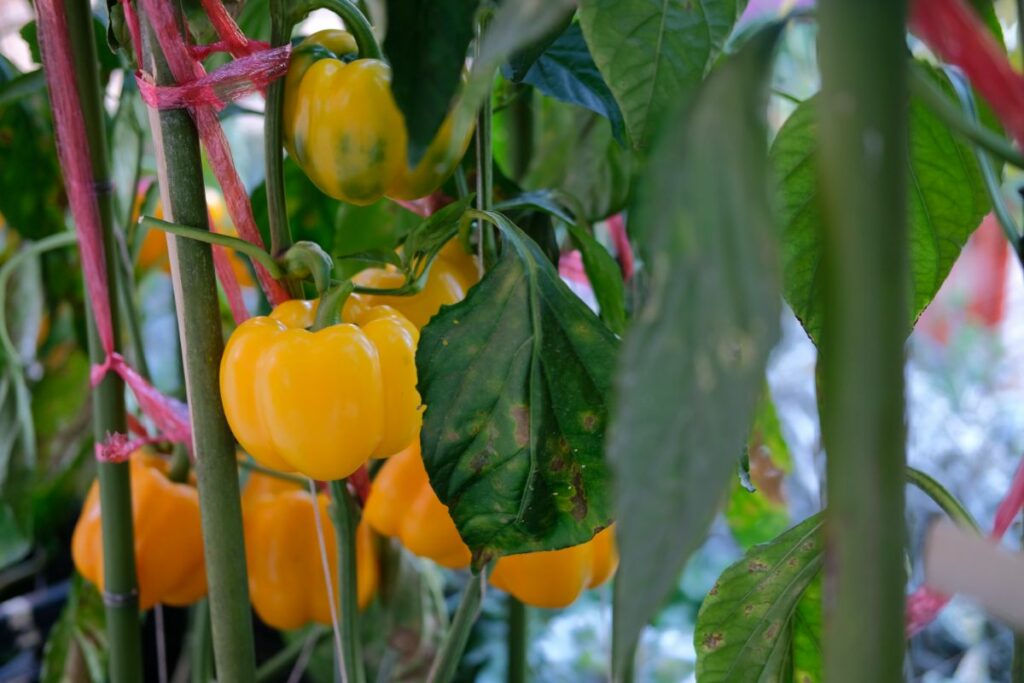
In this guide, I’ll show you how to grow your own bell peppers from store-bought peppers.
Getting Started With Growing Peppers From Store-bought Peppers
The first step is choosing a ripe, healthy bell pepper from the shop. Pick out a firm pepper that feels heavy for its size and has shiny, smooth skin without any blemishes.
Green, red, yellow, orange, or purple peppers will all work well.
Look for peppers that are free of soft or mushy spots. Examine the pepper closely to make sure there are no holes or cracks in the skin, which can allow disease to enter. The pepper should look fresh, without any wrinkling or signs of aging.
Once you’ve selected the perfect pepper, wash it thoroughly under cool running water when you get home. This will remove any dirt or residue from the grocery store. Be sure to dry the pepper completely before proceeding to the next step.
Next, use a sharp knife to slice the pepper open lengthwise, keeping the stem and seeds intact. Carefully cut down one side, being gentle so as not to crush the inner cavity.
Gently scrape out the seeds and place them in a bowl of water. Let the seeds soak for a day or two, changing the water daily. This process removes any remaining flesh from the seeds and starts to encourage germination by softening the outer seed coating.
After soaking, strain out the seeds and lay them on a paper towel. Pat dry gently. You don’t want the seeds to be sitting in water, but they shouldn’t dry out completely, either.
Some people recommend letting the seeds further dry for a few days before planting, but they can also be planted immediately as long as they haven’t dried out.
Planting the Seeds
Bell pepper seeds do best when started indoors. The controlled environment helps the seedlings establish before being transplanted outside.
Fill small pots or seed trays with a good quality seed starting or potting mix. Make sure the containers have drainage holes in the bottom and that the soil is loose, fertile, and free of weeds or disease.
Sow the seeds about 1?4 inch deep, spacing them 1-2 inches apart. Gently water until the soil is moist but not saturated.
Cover the pots or trays with plastic wrap or a humidity dome to keep the soil consistently moist.
Maintain a temperature around 70-80°F – peppers enjoy warmth. You can place seed trays on a heat mat or above a radiator to provide bottom heat that encourages germination.
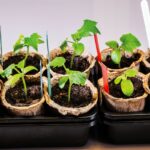
In 7-14 days, the pepper seeds should begin to sprout. Look for little green shoots emerging from the soil.
Once the seedlings emerge, remove any plastic covering and make sure they receive plenty of sunlight. A bright, sunny windowsill is ideal.
Water only when the top inch of soil feels dry, and be careful not to oversaturate the soil. Fertilise with a diluted liquid fertiliser every 2-3 weeks to nourish the growing plants.
Transplanting Outdoors
After about 8-10 weeks, when the young pepper plants have 3-4 true leaves, they should be ready to transplant into the garden after any danger of frost has passed.
Harden off the seedlings first by setting them outdoors in partial sunlight for a few hours a day. Do this for about a week before transplanting. This helps the peppers gradually acclimate to the outdoor conditions.
On transplant day, dig holes in prepared garden beds spaced 18-24 inches apart. The holes should be a bit deeper and wider than the current pots.
Carefully remove each plant from its pot, gently handling the stem and roots. Place into the hole, filling in with surrounding soil.
Firm the soil gently and water deeply. Consider using compost or fertilizer to give the new transplants a boost.
Caring For Your Pepper Plants
As they grow, bell peppers need about 1-2 inches of water per week. Provide extra water during fruiting and when plants look droopy or wilted.
Applying a balanced fertilizer every couple of weeks will also help maximize yields. Stake or cage pepper plants to support heavy fruits weighing down branches.
Monitor for pests like aphids, cutworms, or pepper weevils and treat organically if needed. Weed carefully around plants so weeds don’t compete for nutrients.
Bell peppers typically mature 60-80 days after transplanting, but keep a close eye for ripe peppers ready for picking earlier.
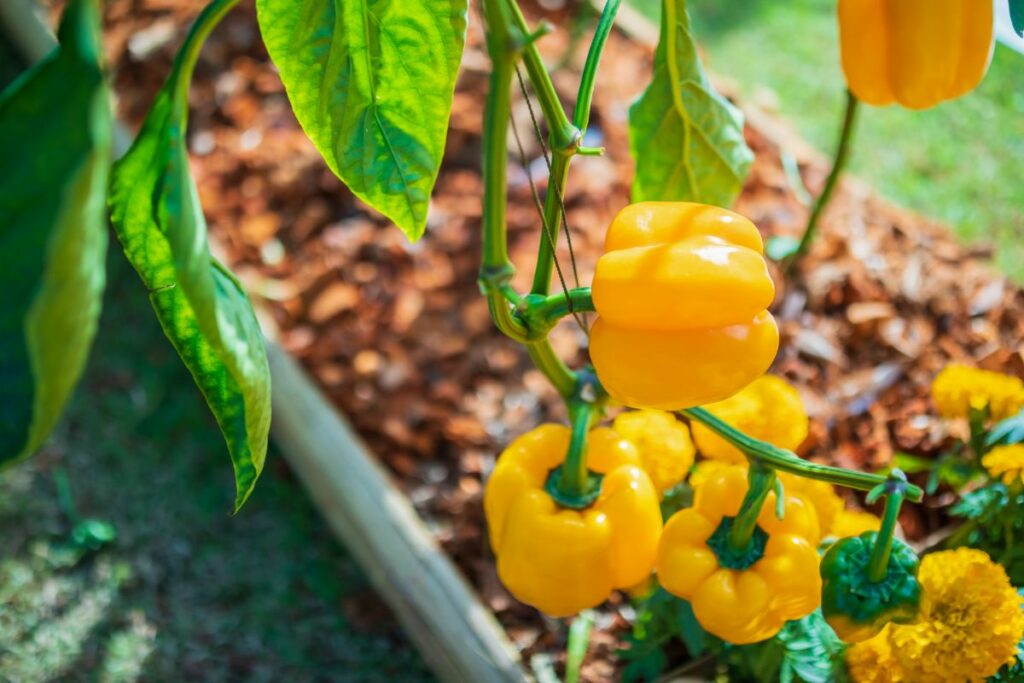
Harvesting Bell Peppers
Check plants daily when fruits begin to fully form. Harvest peppers once they’ve reached their mature color and are firm and glossy.
Use clean, sharp scissors or shears to clip peppers from the vine. Try to avoid pulling or twisting, which could damage the plant.
Collect any peppers that fall off before harvesting, as these won’t store well. Enjoy your homegrown peppers fresh, or cook into stir-fries, fajitas, pizza, and more.
Store unwashed bell peppers in the crisper drawer of the fridge for up to a week.
Final Thoughts
Growing bell peppers from the seeds of store-bought peppers is simple and rewarding. Not only does it save money, but it also provides garden-fresh produce at your fingertips.
Follow my steps for success growing bell peppers: select a ripe pepper, soak and dry seeds, start seeds indoors, transplant outdoors after frost danger passes, provide sun and fertile soil, and keep plants healthy.
With proper care, you’ll be harvesting your own delicious peppers in no time!
- Can You Grow Bell Peppers Indoors? A Guide For New Gardeners - November 14, 2023
- Composting Basics: Can You Compost Mushrooms? - November 6, 2023
- A Gardener’s Guide To Growing Carrots In Raised Beds - November 1, 2023

