I’m going to start with a confession. I’ve killed my fair share of Aloe Vera plants.
I got them because everyone said it would be so easy. I beg to differ.
I killed at least three before I managed to keep one alive.
So, if you’re here because your Aloe plant has no roots, because it’s yellowing, or any other reason – I get you. I’ve been there.
In this guide, I’m going to cover some of the most common Aloe Vera problems and explain why they happen and how you can avoid them.
We’ve got this – we WILL grow healthy Aloe!
Common Aloe Vera Issues: Recognising The Signs
When caring for aloe plants, various problems can arise. Recognising these signs early can facilitate quick diagnosis and treatment.
Below are some common issues, including the alarming phenomenon of missing roots.
My Aloe Vera Plant Has No Roots
A surprising lack of roots can be particularly alarming. Missing roots are often a symptom of underlying issues rather than a standalone problem.
They may indicate overwatering, disease, soil problems, or other factors that we’ll explore in depth.
My Aloe Vera Has Wilting And Yellowing Leaves
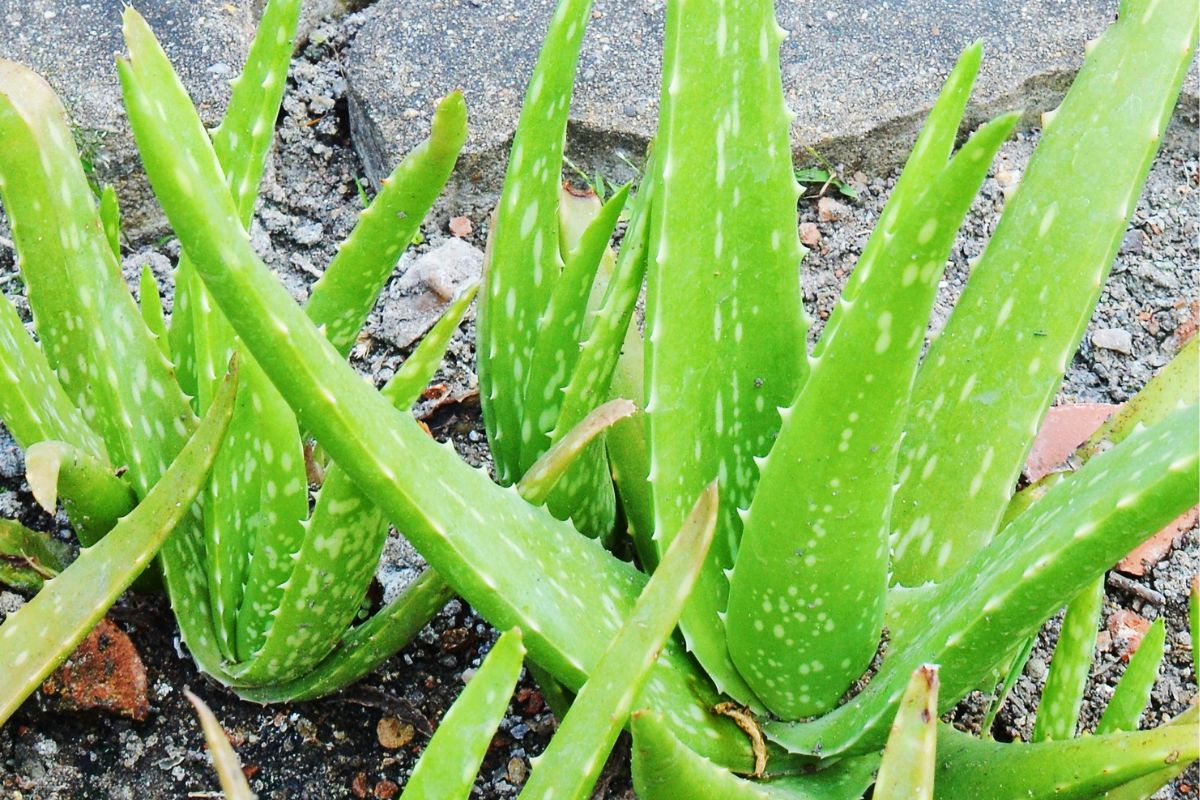
A healthy Aloe plant should have plump, green leaves.
Wilting or yellowing may signal water-related issues, either too much or too little.
My Aloe Has Slow Or Stunted Growth
If your aloe plant seems to be stuck in a growth rut, it may be struggling with soil conditions, feeding, or disease.
Or perhaps your Aloe is growing horizontally? This is often due to light.
My Aloe Leaves Are Changing Colour
Unusual colour changes in leaves might signal nutrient imbalances or exposure to extreme temperatures.
There Are Brown Tips On My Aloe Plant
Often a sign of over-fertilisation or a buildup of salts and minerals in the soil.
My Aloe Has A Soft, Mushy Base
A soft or mushy base can be a critical warning sign of overwatering, leading to root rot.
My Aloe Has Soft, Squishy Leaves
I’ve been there many times with this issue (and with the one below)
Soft, squishy leaves typically indicate overwatering, leading to waterlogged tissues.
My Aloe Has Tough Leaves
Tough or hardened leaves may be a sign of underwatering or exposure to too much direct sunlight.
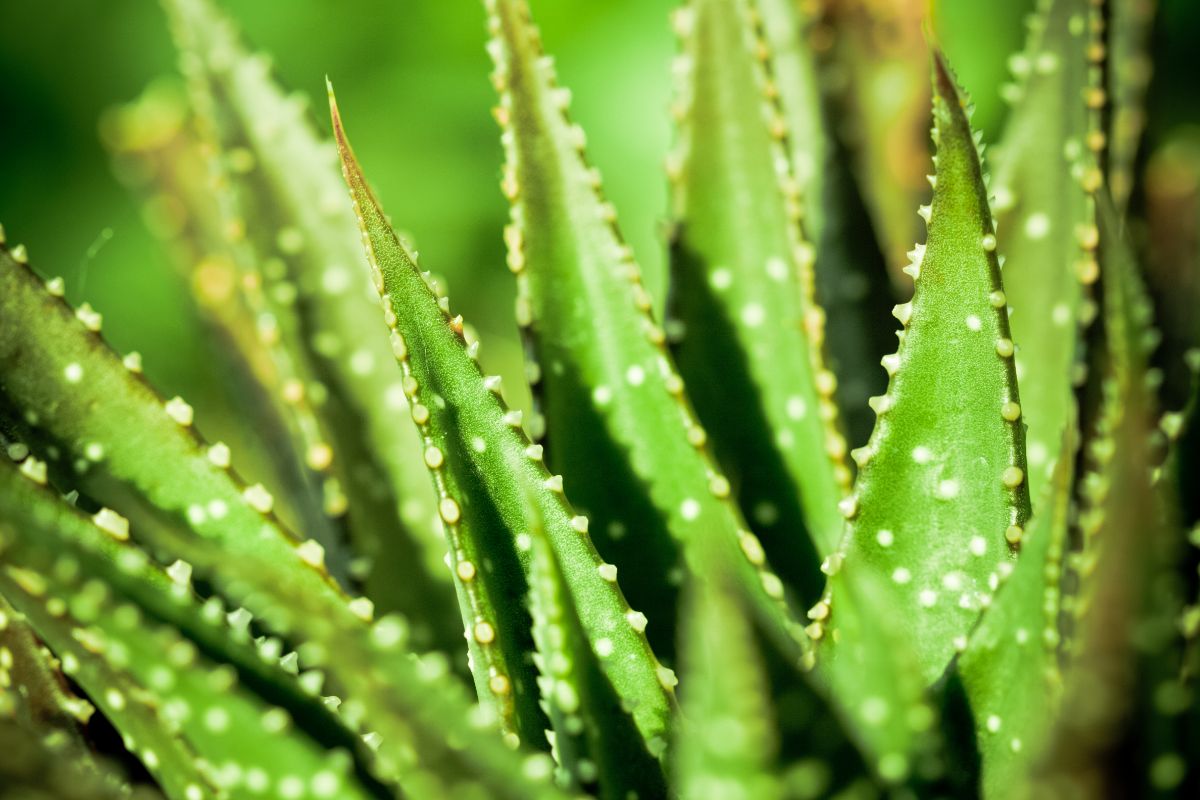
There Are Brown Spots On My Aloe Leaves
Can result from disease, insect infestation, or sunburn.
My Aloe Is Experiencing Stem Collapse
A drastic sign that often indicates severe root rot or fungal infection.
Aloe Vera Unexplained Decline
Sometimes, the symptoms aren’t clear-cut. An overall decline in appearance and vitality could be a combination of factors like pests, disease, or environmental stress.
Understanding these common issues provides a foundation for diagnosing and treating problems with your aloe plant.
Recognising the symptoms early on allows for more effective intervention, and the detailed exploration of root-related problems helps target one of the most alarming manifestations of these issues.
By applying appropriate care measures, you can overcome these challenges and enjoy the beauty and benefits of a healthy aloe vera plant.
(Psst. Take a look at my article on whether Aloe leaves can grow back.)
Causes Of Poor Aloe Plant Health
Now that we’re acquainted with these common issues let’s delve into the specific underlying causes a little more.
Overwatering: The Silent Killer
Commons Symptoms: A soft, mushy base and yellowing leaves.
Explanation: Aloe plants are succulents thriving in arid conditions. Overwatering leads to root rot, effectively causing the roots to disintegrate.
Solution: Allow the soil to dry out completely between watering, and ensure proper drainage by using a pot with drainage holes and well-draining soil mix.
Underwatering: A Common Misconception
Symptoms: Shrinking and thinning of the plant.
Explanation: While aloes are drought-resistant, extreme underwatering can cause the roots to dry up and die.
Solution: Establish a consistent watering routine, being mindful of the plant’s needs during different seasons.
Infestation: Unseen Predators
Symptoms: Weak and slow-growing aloe.
Explanation: Certain pests like root mealybugs can damage the roots.
Solution: Treat with insecticidal soap or a diluted alcohol solution. Regularly inspect for infestations.
Soil Issues: The Invisible Barrier
Symptoms: Stunted growth with no visible signs of disease.
Explanation: Compacted or non-porous soil restricts root growth, not allowing them to spread.
Solution: Utilise a sandy soil mix designed for cacti and succulents to encourage healthy root development.
Repotting Trauma: A Delicate Procedure
Symptoms: Loss of roots shortly after repotting.
Explanation: Rough handling during repotting can damage or break the delicate roots. Aloes have a fibrous root system that can be easily damaged if not handled with care. The roots may also suffer from shock if moved from one type of soil or pot to a drastically different one.
Solution: Handle with extreme care during the repotting process. When repotting, be gentle and patient, removing the plant from its current pot with caution. Try to keep as much of the original soil around the roots as possible to minimise shock.
Use a soil mix suitable for cacti and succulents, and avoid watering immediately after repotting to allow the roots to settle. Monitor the plant closely for the first few weeks after repotting, adjusting care as needed to ensure it adapts well to its new home.
pH Imbalance: Striking The Right Balance
Symptoms: Slow growth and weak appearance despite proper care.
Explanation: An unsuitable pH level in the soil may inhibit the plant’s ability to absorb nutrients, leading to weak or non-existent root development.
Solution: Test the soil’s pH and amend with the appropriate soil conditioners if it falls outside the optimal range for aloe (6 to 8 pH).
Propagation Mistakes: A Learning Curve
Symptoms: Newly propagated aloes failing to develop roots.
Explanation: If cuttings are taken incorrectly or planted too soon, they might not develop roots.
Solution: Allow cuttings to dry for a day or two before planting, and ensure the use of rooting hormones if necessary.
Fertiliser Misuse: Less Can Be More
Symptoms: Brown tips and general unhealthiness despite good watering practices.
Explanation: Over-fertilisation can harm the roots, causing them to shrivel and die.
Solution: Follow the fertiliser instructions carefully, opting for a formulation meant for succulents, and do not over-apply.
Illness Prevention: Monitoring for Disease
Symptoms: Wilted appearance and root decay.
Explanation: Certain diseases such as fungal infections can destroy the root system.
Solution: Use disease-free planting material, and ensure good air circulation and proper watering to prevent disease development.
Quality Of Water: It’s More Than Just H2O
Symptoms: Unexplained decline in a plant’s health.
Explanation: Chlorinated water or water with high mineral content can cause damage to sensitive aloe roots.
Solution: Use filtered or rainwater if possible, and allow tap water to stand overnight to allow chlorine to evaporate.
Reviving An Aloe Vera With No Roots
Most of the above issues can be easily remedied if you catch them early enough. I’ve saved a few of my more recent plants just by noticing the health of the leaves and adjusting my watering schedule.
However, reviving an aloe vera plant without roots can be a delicate process, but it’s not impossible. Here’s a step-by-step guide to help you nurse your aloe vera back to health:
1. Inspect the Plant
Examine the remaining plant carefully. If there are any healthy leaves or a portion of the stem that appears firm and unaffected, these parts can be salvaged.
2. Trim Away the Damaged Parts
Using a clean, sharp knife or scissors, cut away any soft, mushy, or diseased portions of the plant.
Be sure to sterilise the cutting tool before use to prevent the spread of disease.
3. Allow the Cuttings to Dry
Place the healthy cuttings or stem in a warm, dry place out of direct sunlight. Let them dry for a few days, forming a callus over the cut ends. This helps prevent rot when replanting.
4. Prepare the Right Soil
Choose a well-draining soil mix, preferably one designed for succulents and cacti. You can mix sand or perlite with potting soil to achieve the right texture.
5. Plant the Cuttings
Plant the cuttings or stem in the prepared soil. If you’re working with a stem, place it upright, burying the callused end about an inch into the soil. If you have leaf cuttings, you can lay them on the surface of the soil.
6. Provide the Right Environment
Place the pot in a bright but indirect sunlight area. The right temperature is also crucial, ideally between 15°C to 25°C (60°F to 77°F).
7. Water Carefully
Wait a week or so before watering to allow the cuttings to settle. When you do water, do so sparingly, letting the soil dry out between watering sessions.
8. Be Patient
Roots may take several weeks or even months to develop. Keep an eye on the plant, making sure it’s neither too dry nor too damp.
9. Fertilise Thoughtfully
Once the plant begins to show signs of growth, you might consider using a diluted, balanced fertiliser designed for succulents, but do so sparingly.
10. Monitor for Signs of Recovery
Look for signs of new growth or root development, but be patient, as this may take time.
11. Consult a Professional if Needed
If the plant does not show signs of recovery, don’t hesitate to consult with a local nursery or gardening expert for advice tailored to your specific situation.
By following these careful steps, you give your aloe vera the best chance of recovery.
Remember, attention to detail and patience are key when trying to revive a plant without roots.
Not every plant can be saved, but many can be brought back to health with time and careful nurturing.
Final Thoughts
If you came here after being shocked by the mystery of your missing Aloe Vera roots, I hope I’ve helped you understand that 1) you’re not alone in being an Aloe growing disaster (I joke – honestly, these issues are so common), and 2) that you have a good understanding of why it’s happened and how to fix it.
Hopefully, you’ve picked some knowledge on other common Aloe Vera issues along the way, so you know exactly what to look out for and how to grow a healthy plant.

As I move into my mid-thirties, I find myself more eager than ever to enjoy having a beautiful garden. I’m also keen to grow my own produce where possible and enjoy a level of self-sufficiency.
As well as loving the great outdoors, I also try to live as much of an eco-friendly life as possible. so I absolutely love composting!
I’m definitely still learning about gardening and composting and I wanted to share this journey with you by taking it back to basics and learning from the ground up.
- Can You Grow Bell Peppers Indoors? A Guide For New Gardeners - November 14, 2023
- Composting Basics: Can You Compost Mushrooms? - November 6, 2023
- A Gardener’s Guide To Growing Carrots In Raised Beds - November 1, 2023
")


